
Simplescripts is a suite of one click installers for most large open source web applications. This guide will walk you through installing Joomla using Simplescripts.
Bluehost developed SimpleScripts so their hosting customers will have an easier time installing web applications and content management systems.
Unlike most other one-click installers, SimpleScripts gives you the ability to enter in your own custom database names, database usernames, and Joomla administrator usernames & passwords. If you need to take advantage of this feature you will have to create your mySQL database information manually.
You can learn to do this in our How to install Joomla at Bluehost install guide.
Watch the video or follow the steps below:
Before you begin, you will need:
- A Bluehost account (Sign up)
- Bluehost Username / Password
- DNS configured (Domain name pointed to Bluehost Server)
Step 1: Login to Bluehost Control Panel

- Click 'Control Panel Login' at http://bluehost.com. You will be redirected to the account manager login screen.
Step 2: Bluehost Account Manager Login
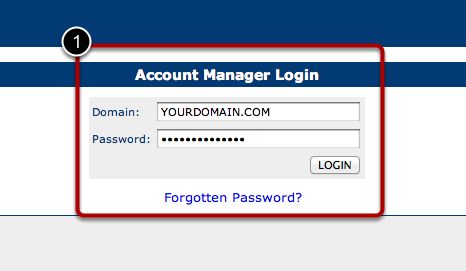
- Enter your Bluehost domain name and password, then click 'Login'. In some instances you may be able to enter your Bluehost Username and password. This may vary on a case by case basis.
Step 3: Click SimpleScripts
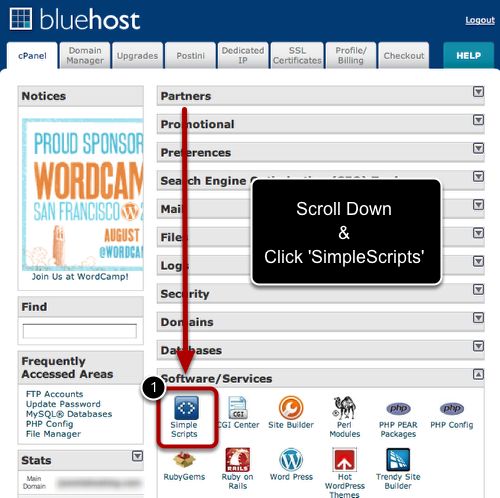
- Scroll Down to and click 'SimpleScripts' under Software/Services.
Step 4: Select Joomla
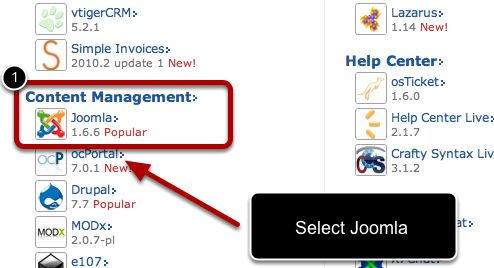
- 'Select Joomla' under 'Content Management'. At the time this document was created, Joomla 1.6.6 was the most recent, stable release. You may see Joomla 1.7.X or 2.5.X. Select the most recent version.
Step 5: Start the Joomla installation
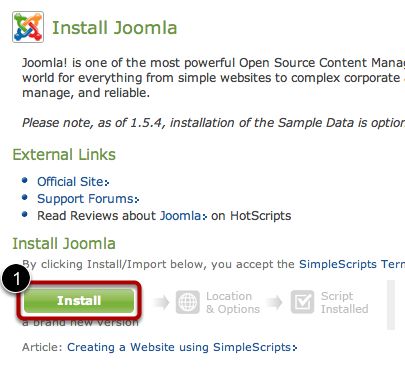
- Click the "Install" button to start the process.
Step 6: Enter Joomla Admin & Database Details
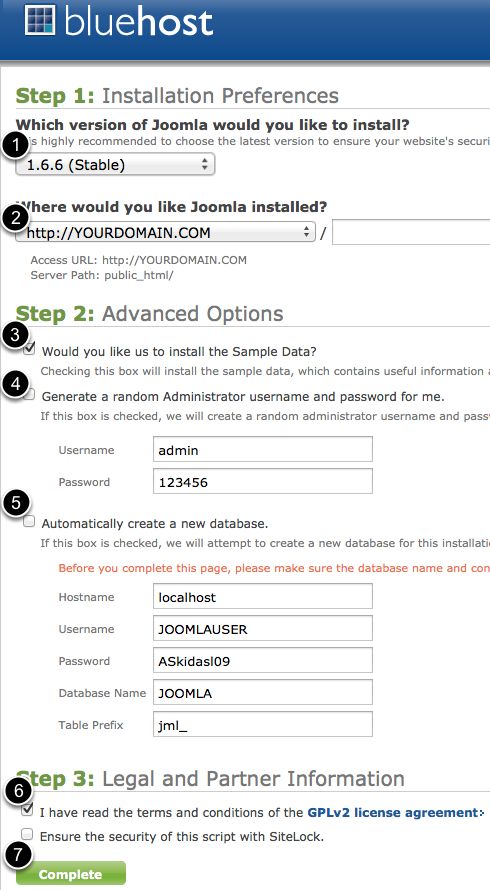
- Select the version you want. At the creation of this tutorial it was 1.6.6
- Choose the domain you wish to install on. *Optional - Install to another directory. If you are installing to a subdirectory after the top level, type it into the box on the right. Use a subdirectory is required if you have an existing site at Bluehost. If the top level folder is EMPTY it is better NOT to install to a sub-directory.
- (Optional) Install Sample Data: this pre-populates your Joomla website with sample articles, categories, menu items and modules. It is helpful for beginners but gets in the way for experienced users.
- (Optional) Create your Joomla Admin Username and Password. Or you can have SimpleScripts generate this information and email it to you by leaving the checkbox ticked.
- Check the box to automatically create new database. Simple Scripts gives you the ability to specify an already created Database and Database User. Creating these items is outside the scope of this tutorial. If you would like to learn how to create this please visit our Guide to installing joomla at Bluehost.
- Agree to the Terms and Conditions
- Click 'Complete'
Step 7: Joomla Install Confirmation
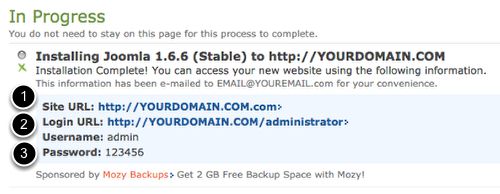
- This is your new Joomla Site.
- This is where to login into your new Joomla Administrator Control Panel
Your newly created Joomla Username and Password are displayed on this screen as well as sent to the email attached to your Bluehost account.
Step 8: View new Joomla site
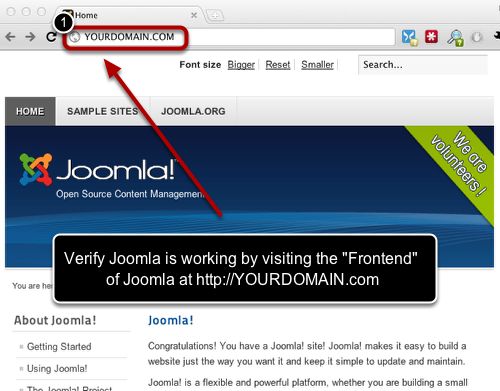
- Verify the installation works. Click the link in the screen previous to this one or you can visit YOURDOMAIN.COM to see Joomla up and running.
Step 9: Congrats! You're Done!
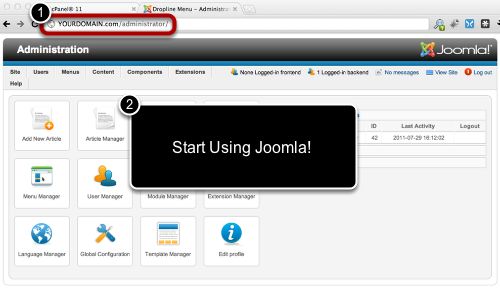
- Log into Joomla administrator interface by going to http//YOURDOMAIN.COM/administrator
- Once you've logged in, you are ready to start configuring Joomla! Congratulations!